



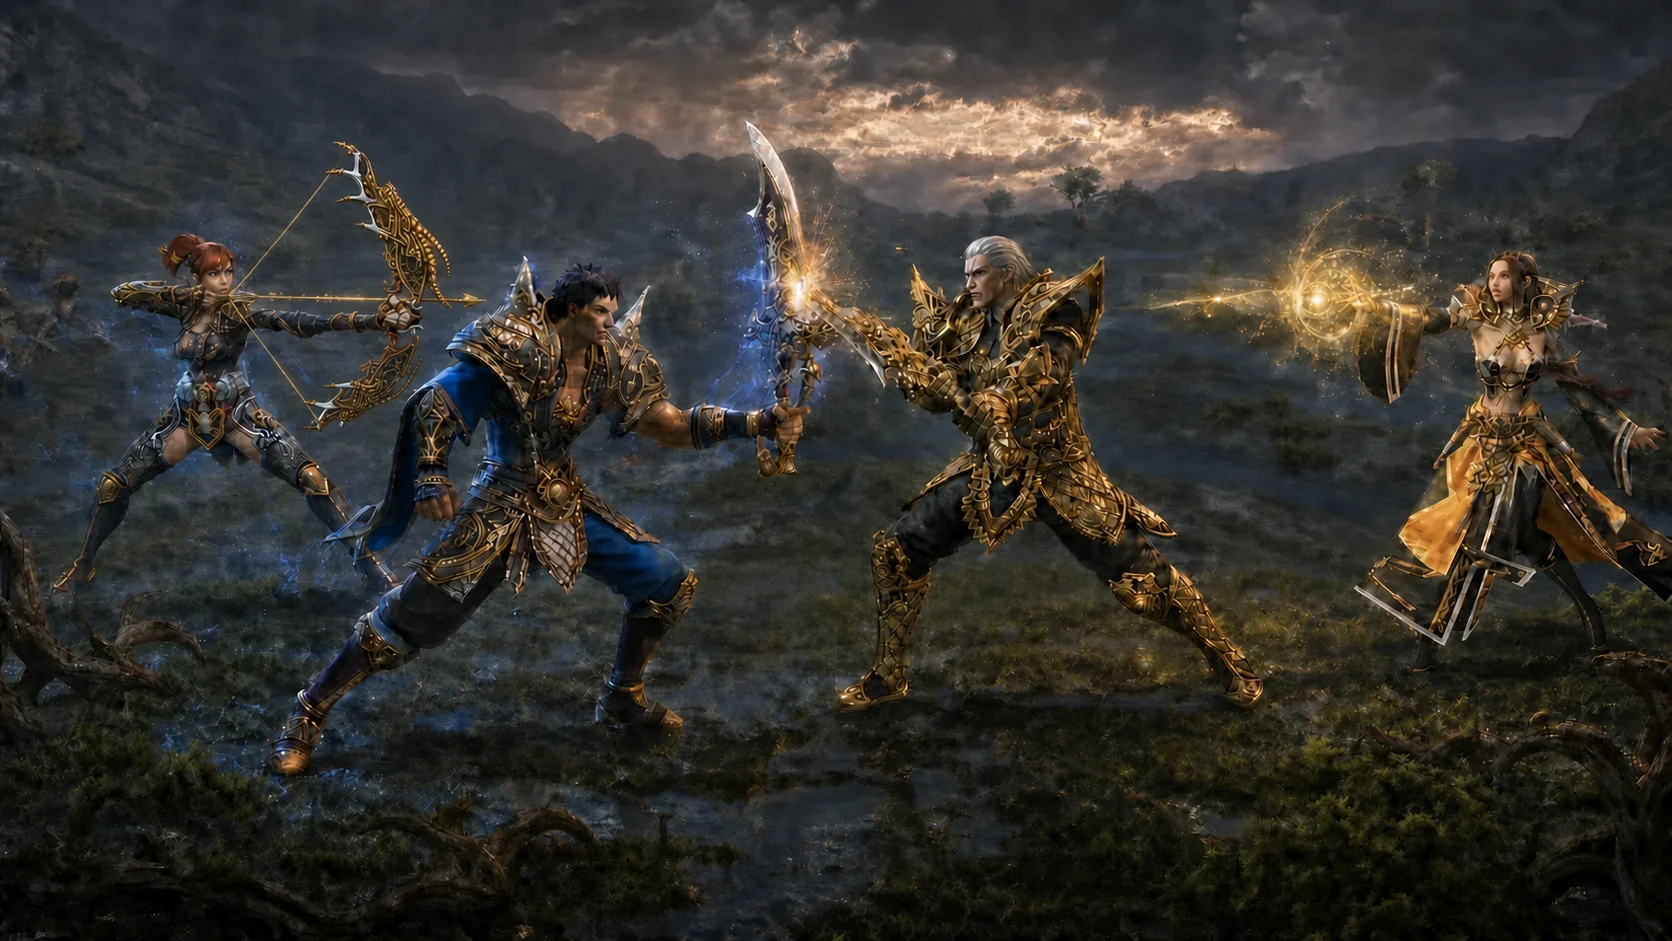
Build a party
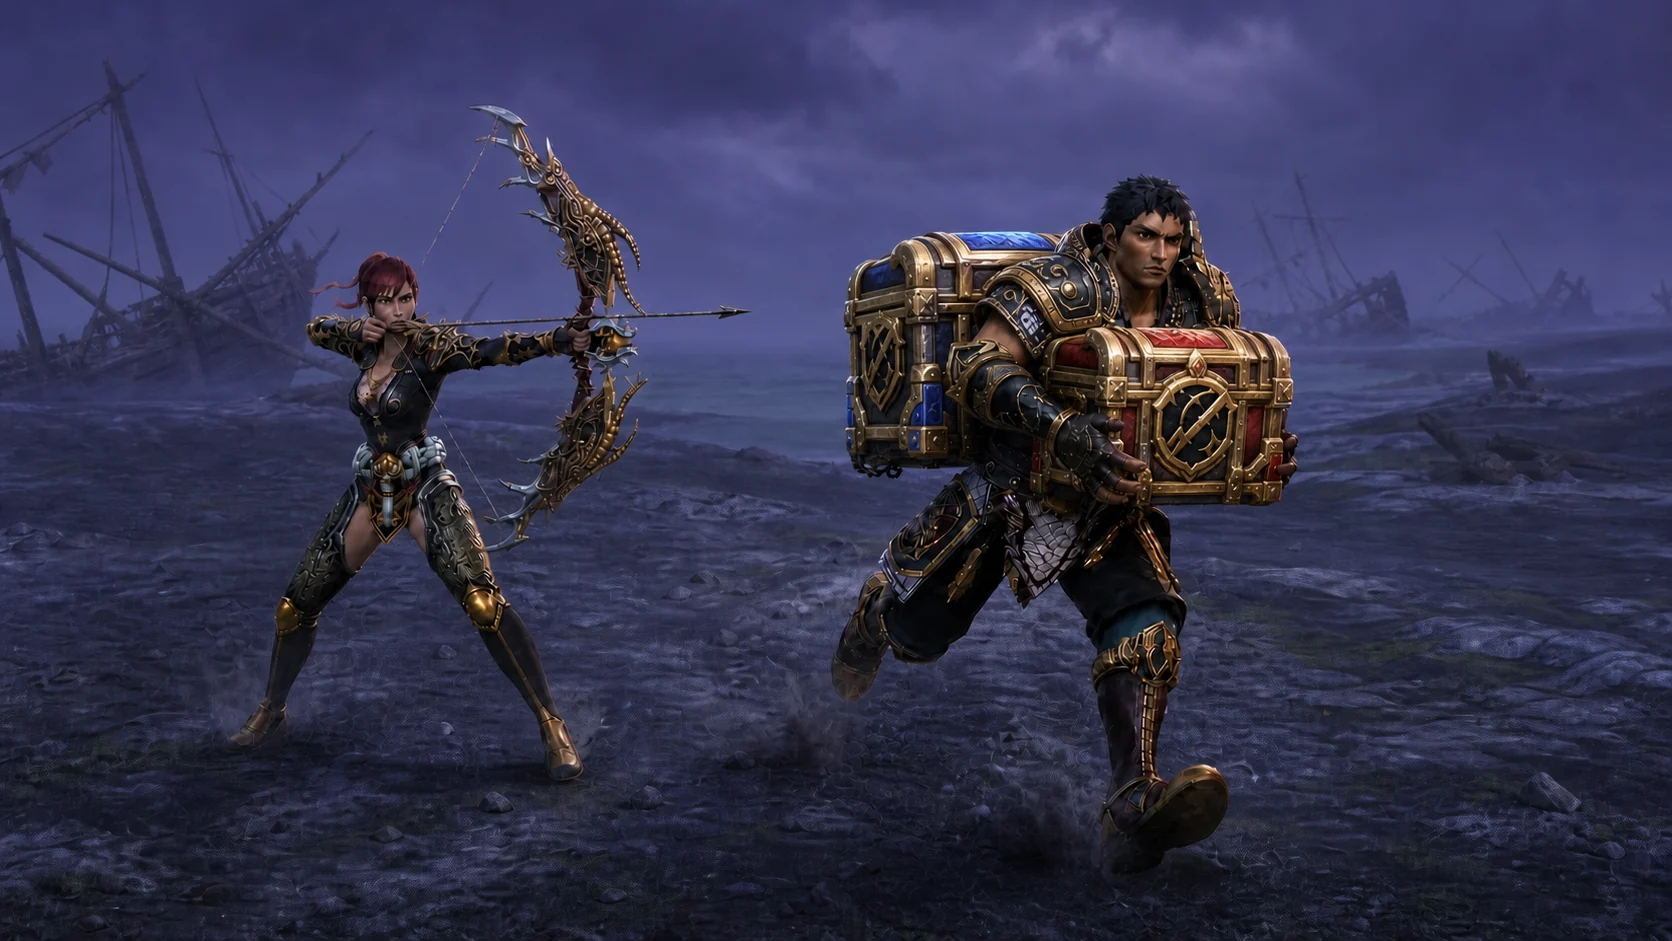
A party protects its loaded carriers and can hunt rival carriers together. Prepare for the same farm tier, track the Warrior Ghost, and cover each other on the way to it. A guild gives you people to return to battle with.
Farming turns into PvP.
You come for drops, but the richest targets are players already carrying a haul. Their chests and gold ingots fall on death for anyone to take. Prepare your gear in Mythgate, gather on the map that fits your progression, then hunt a carrier or reach the Warrior Ghost alive with your own haul.
Everything carried in the Endgame Chest inventory drops when you die, including gold ingots and Raw Mineral. Anyone nearby can pick it up immediately. Mythgate storage can keep ordinary chests safe, but first you have to bring them there.
If you are weak, you farm for someone else. If you are good, you leave with a full inventory. If you are strong, the map knows when you enter.
On farm maps and in Wubba Arena, town revival returns you to Mythgate with full HP and SP and no wait. Your dropped haul stays behind. Hearts of Rebirth let you revive in place, but quick repeat deaths raise the cost.
Choose town revival and return to Mythgate with full HP and SP without spending Hearts. Dropped chests do not return with you. Prepare your next run or try to get back to them.
Revive where you fell with full HP and SP and 5 seconds of protection. The first use costs one Heart. Die within 20 seconds of that revival and the next costs one more, up to five. Survive for 20 seconds and the cost returns to one.
The revive button shows the exact cost fixed at death; waiting on the death screen does not lower it. Hearts work on the four farm maps and in Wubba Arena. In Mythgate, revival in place is free.
Gather your own haul or hunt a loaded carrier. Until you return to Mythgate, the next death can cost you everything in your chest inventory. Farming creates the prize; PvP decides who brings it home.
Fight mobs, metins and bosses on your eligible farm map. Chests and gold ingots fill the Endgame inventory, and everything you collect there stays at risk until you secure it.
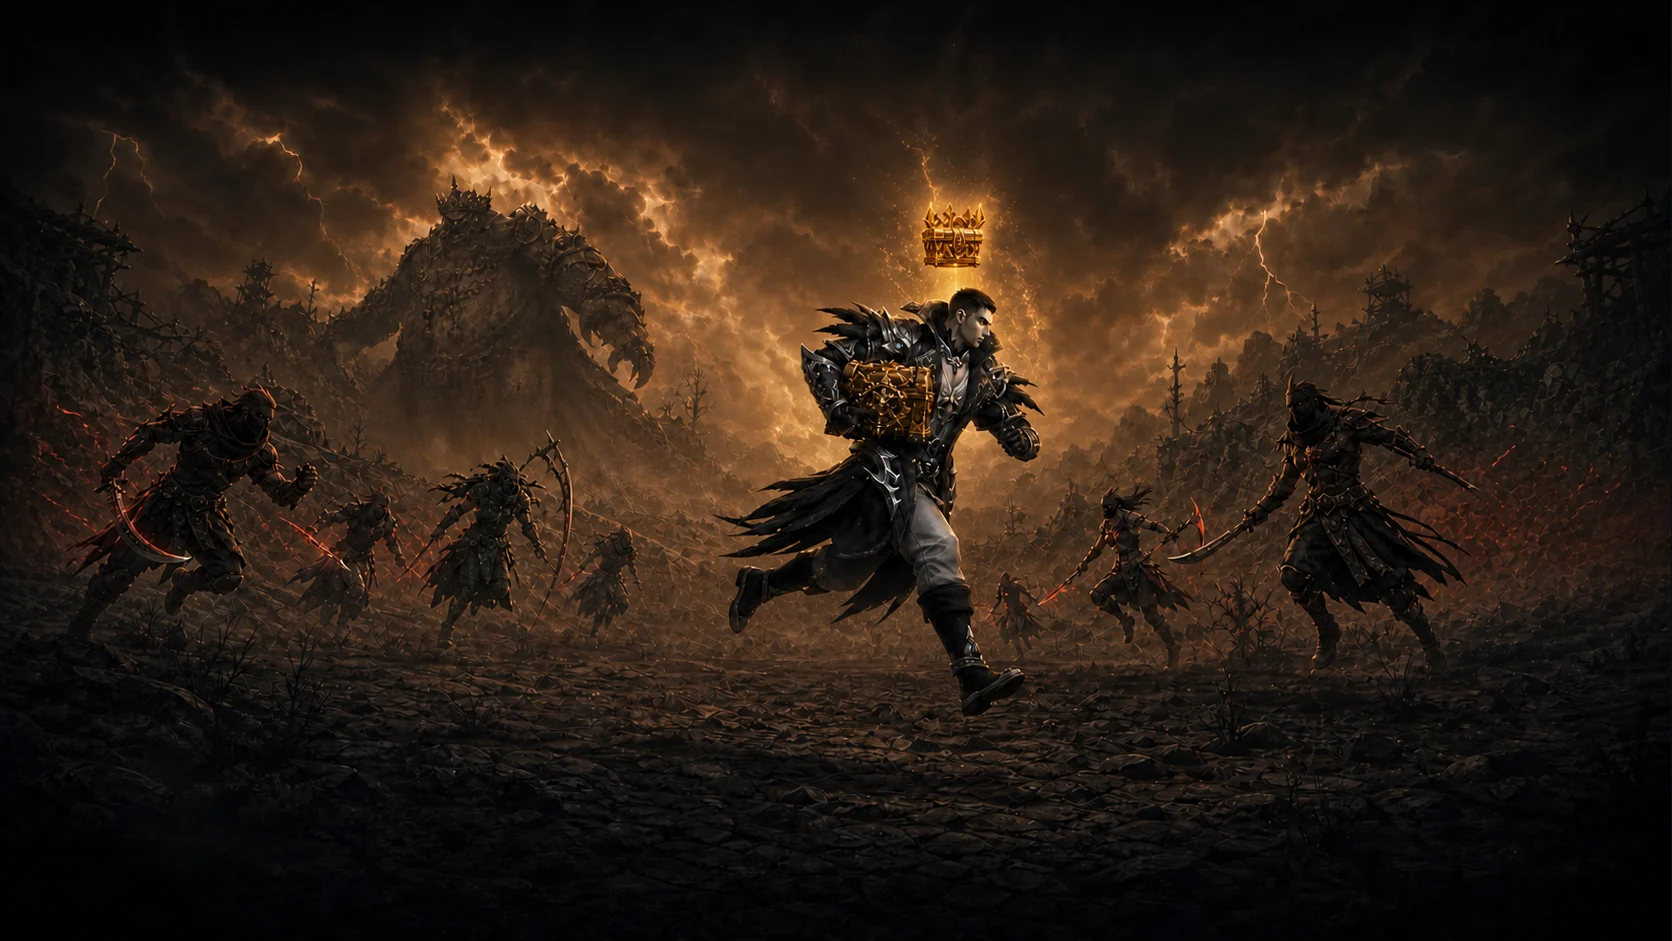
A full inventory turns its carrier into a target. A rival can hunt you anywhere on the map or on the way to the Warrior Ghost, just as you try to leave with your haul.
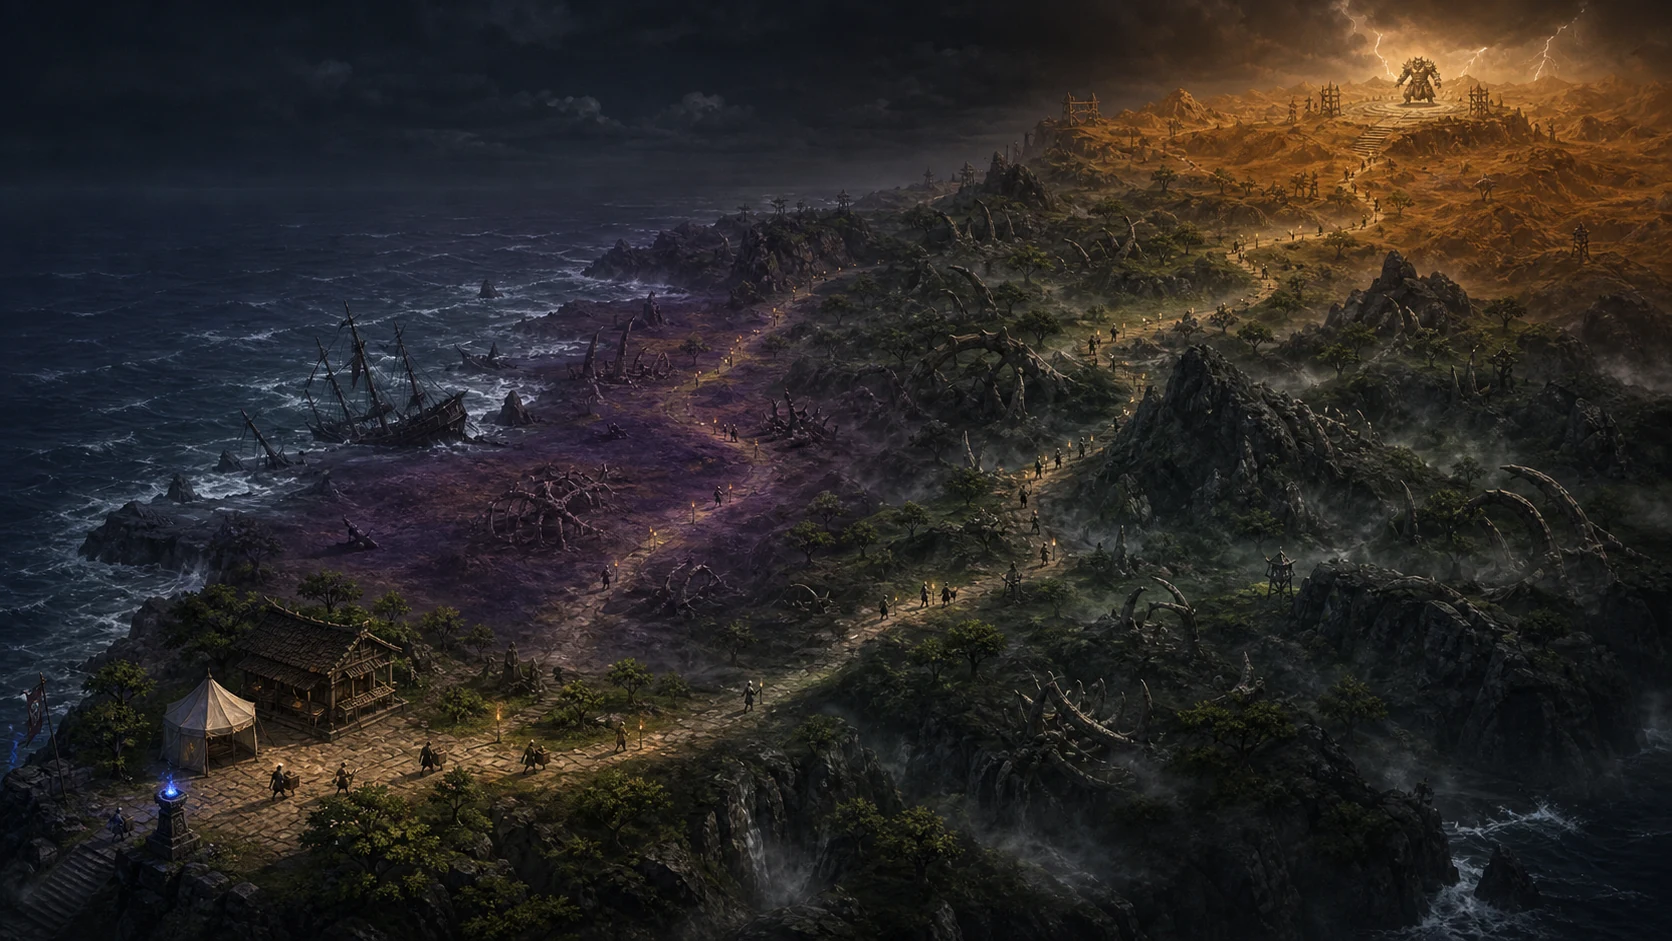
The Eye of Shadows reveals which visible players are carrying chests. When the Warrior Ghost appears, its position is visible across the map, and every loaded carrier has to survive the same escape route.
Leave Mythgate through the Teleporter and arrive at a random point on your eligible farm map. Cape is the starter stage. From level 105, Fighting Spirit and equipment limits determine your destination. All eight main equipment slots must be filled before entry.
Start with your EndGame gear and work toward level 105. Cape requires starter main equipment and allows Normal-rarity costumes. At 105, equipped starter pieces are removed and you return to Mythgate to prepare your next set.
The first tier after starter gear. Entry requires Fighting Spirit from 101 to 800, with equipment and costumes limited to Normal rarity.
For Fighting Spirit from 801 to 1199. Equipment and costumes may reach Epic rarity. Your haul remains at risk until you reach the Warrior Ghost.
The farm tier for Fighting Spirit of at least 1200, where Legendary equipment and costumes are allowed. Here too, you gather your haul until you choose to seek the Warrior Ghost.
The Warrior Ghost appears at a random location, stays for 5 minutes, then is absent for 5. Track it on the minimap and atlas to return free of charge beside Mythgate's Collector. The countdown below the minimap shows the time remaining.
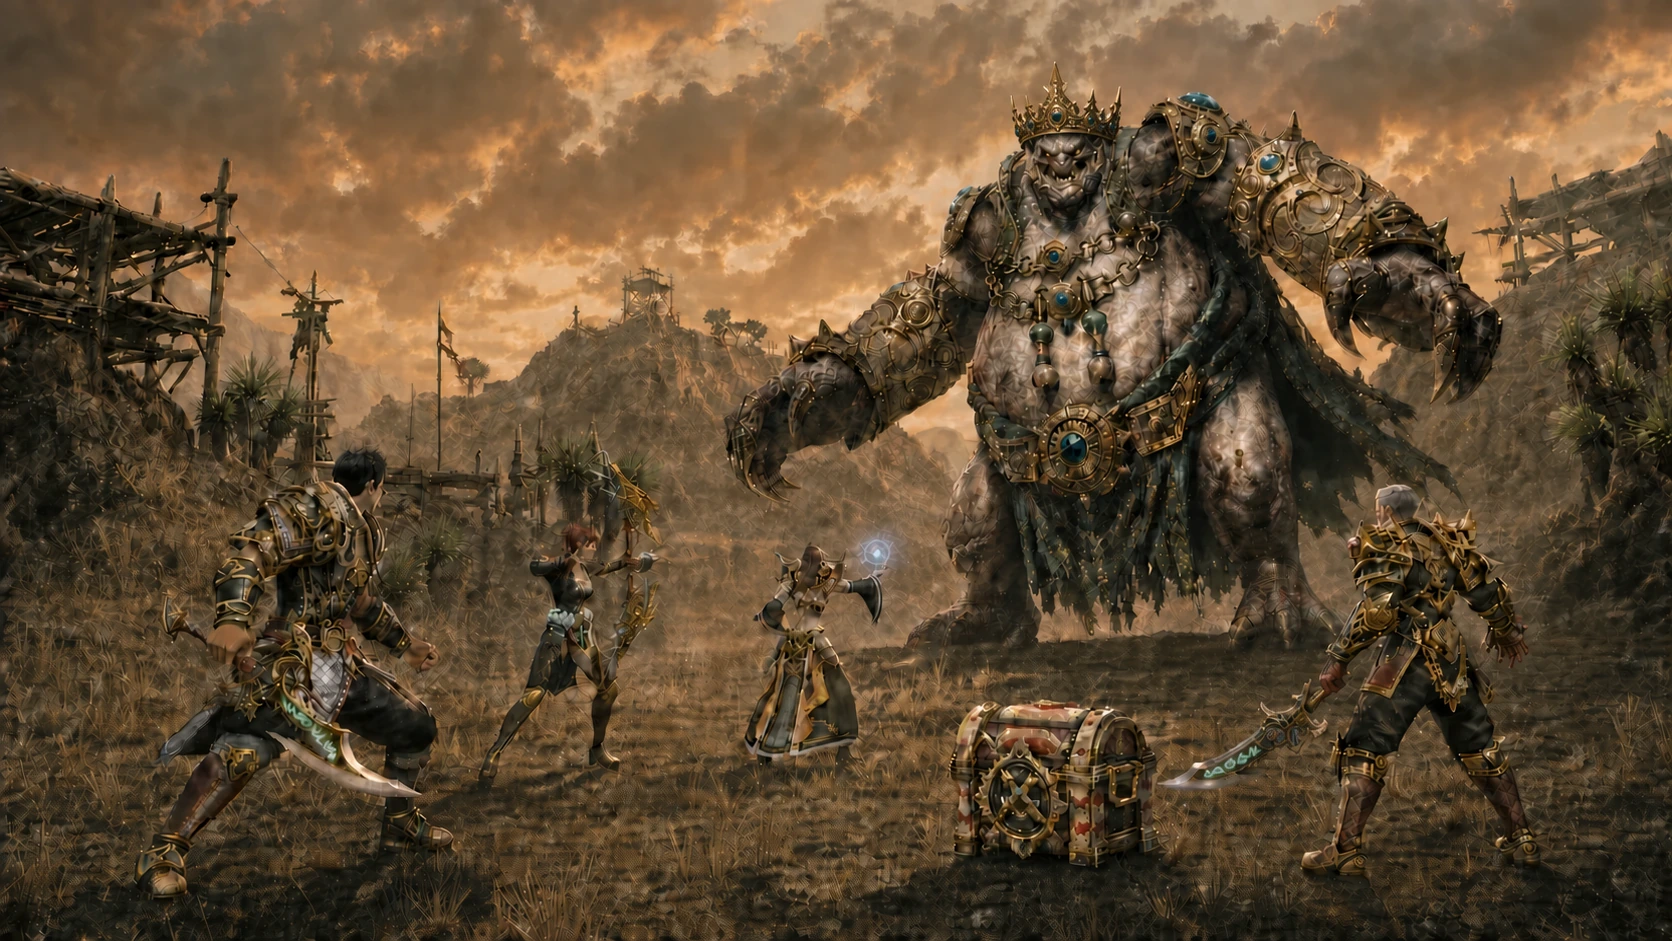
King Wubba waits in his dedicated arena on CH99. Enter through the Teleport button beside the minimap. Whoever picks up the King's Chest becomes the whole arena's target. The chest expires one hour after it drops. Until you escape with it, everyone else hunts you.
His punch takes half of a target's maximum HP, knocks them back and stuns them for 3 seconds. His spin hits three times for 75% of maximum HP in total. He alternates the two attacks with at least 8 seconds between them. Bring your crew and get out of his reach.
One chest drops. Pick it up and you slow down, trapped in the arena until a breach opens. Everyone who wants it knows where you are.
A breach can open while you carry the chest in the arena. Survive another 3 seconds and you arrive beside the Collector, inside the protected circle in Mythgate Sanctuary. Only he can open the King's Chest. You are guaranteed an Usurper's Crown.
 One guaranteed crown
Usurper's Crown
Kingslayer · 7 days
One guaranteed crown
Usurper's Crown
Kingslayer · 7 days
Use the crown when you want to activate Kingslayer for 7 days. While the title is equipped, you gain +3,500 HP, +10% strength against half-humans and +10% half-human resistance. The timer keeps running offline.
Metins and bosses respawn at randomly chosen points across the map. After you clear an area, the next targets can appear elsewhere. Read the map and find the next spawn.
Each map supports up to 56 natural metins and four main bosses. Respawn locations are chosen from hundreds of points across the map.
Each cycle replaces missing targets at newly chosen points. Metins and bosses that are still alive stay on the map.
The standard compass finds the nearest metin and has 6 uses. Epic and Legendary compasses search the whole map for their own rarity and have 4 uses each.
The Eye of the Titans pins the living bosses of your map onto the atlas. The Eye of Shadows pins the other players — and roughly how many chests they are carrying. Each one is a snapshot, not a GPS: the pins stay where they were at scan time until you close the atlas or change map.

The Hunter's Chest is a rare drop from metins and bosses. Open it at the Collector or with a Collector Key outside the Tower of Greed. It gives one Eye: 40% Shadows, 60% Titans.
A protected Hunter’s Chest is also available in the Item Shop and opens directly. The Eye of the Titans is not sold separately.
Every naturally spawned metin on the four maps drops one EndGame Stone Shard. At the Collector, 10 shards become an EndGame Stone with 100% success and no yang cost. Use it outside safe zones to summon a Normal, Epic or Legendary Endgame Metin nearby.
Natural metins, including Epic and Legendary ones, drop one shard each. Drop rates and bonuses do not change this amount. After 10 metins, you have the 10 shards you need.
Use the stone outside safe zones on terrain where the metin can spawn. If the summon is refused or no valid position is found, you keep the stone.
Summoned metins use their variant's loot table wherever you break them. Epic and Legendary have higher reward chances and their own guaranteed drops.
A summoned metin never drops an EndGame Stone Shard. Only metins that spawn naturally on the four maps drop shards, so one stone cannot be used to make another.
Every run makes you choose how much to risk. Keep gathering loot or seek the Warrior Ghost before it disappears. Miss the return window and you wait for its next appearance.
Prepare your gear in Mythgate and visit the Teleporter. Your level, Fighting Spirit and equipment determine which map you can farm.
Chests and gold ingots go into the Endgame inventory and drop on death. A Collector Key can open ordinary chests out in the field, but cannot open the King's Chest or event chests.
Your party escorts whoever carries the chests and hunts rival carriers on the path to the Ghost. Fights follow the selected PvP mode; guild membership does not grant immunity in Free mode. Equipped gear stays with you when you die.
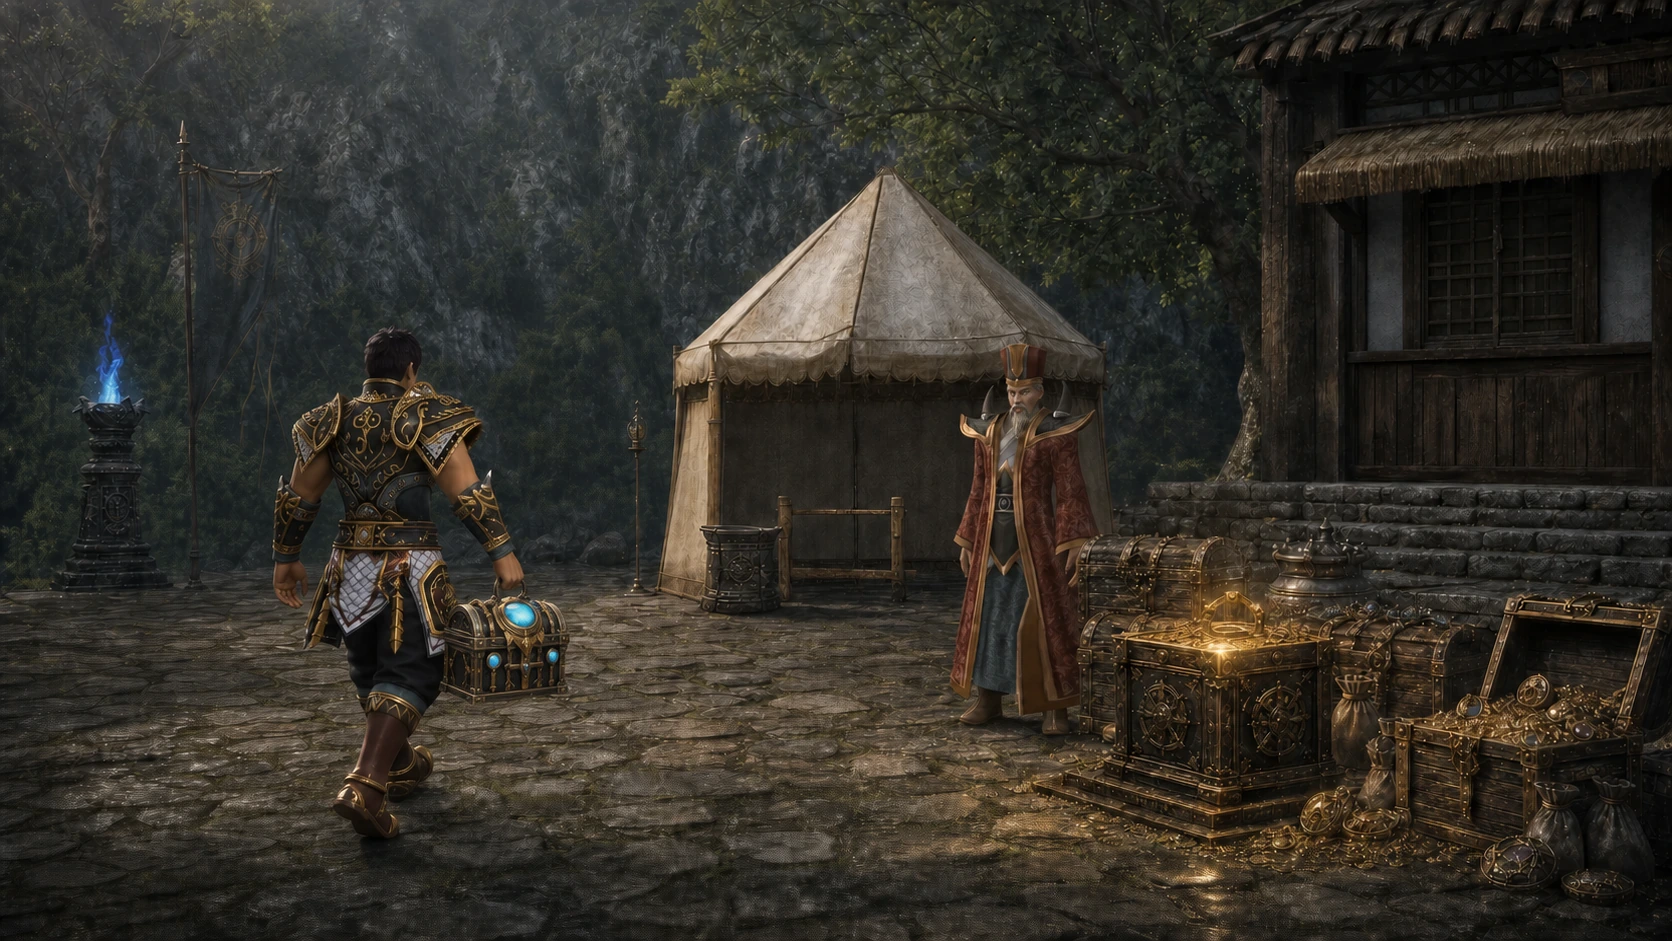
The Ghost takes you beside the Collector in a protected part of Mythgate. Open your haul or bank ordinary chests. The King's Chest and event chests cannot be stored.
A party protects its loaded carriers and can hunt rival carriers together. Prepare for the same farm tier, track the Warrior Ghost, and cover each other on the way to it. A guild gives you people to return to battle with.
A loaded carrier or the Warrior Ghost's appearance gives you a target. Stop carriers before they return and take their chests, but the same ambush can be waiting for you.
Start at level 99, choose a specialization with G1 skills, and receive five days of starter cosmetics. Farm Cape Dragon Fire to reach level 105, then build your set for the next maps.
You start with 1,000 Yang. Endgame starter weapons and equipment cost 1 Yang per piece at the weapon and armour merchants.
New player guideThe level cap is 105. When you reach it, your worn Endgame starter equipment disappears and you return from the farm to Mythgate. Prepare your level-105 equipment before the next trip.
Choose a specialization and receive five G1 skills as a Warrior or Ninja, six as a Sura or Shaman. Grade-bearing common skills are at Perfect Master, while Combo starts at level 2.
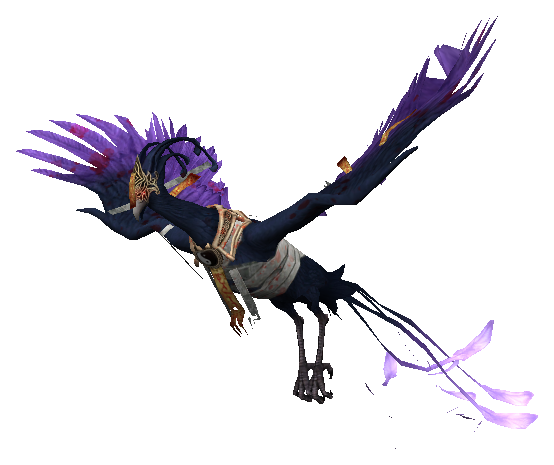
The Doctor Death costume, hair and weapon skins for your class each give +10% strong against monsters, +5% average damage and +2,000 HP. They disappear after five days. The Jiangshi Phoenix, with +10% strong against monsters, and the visual sash also last five days. You also receive elixirs, Multi Dew and Wind Shoes.
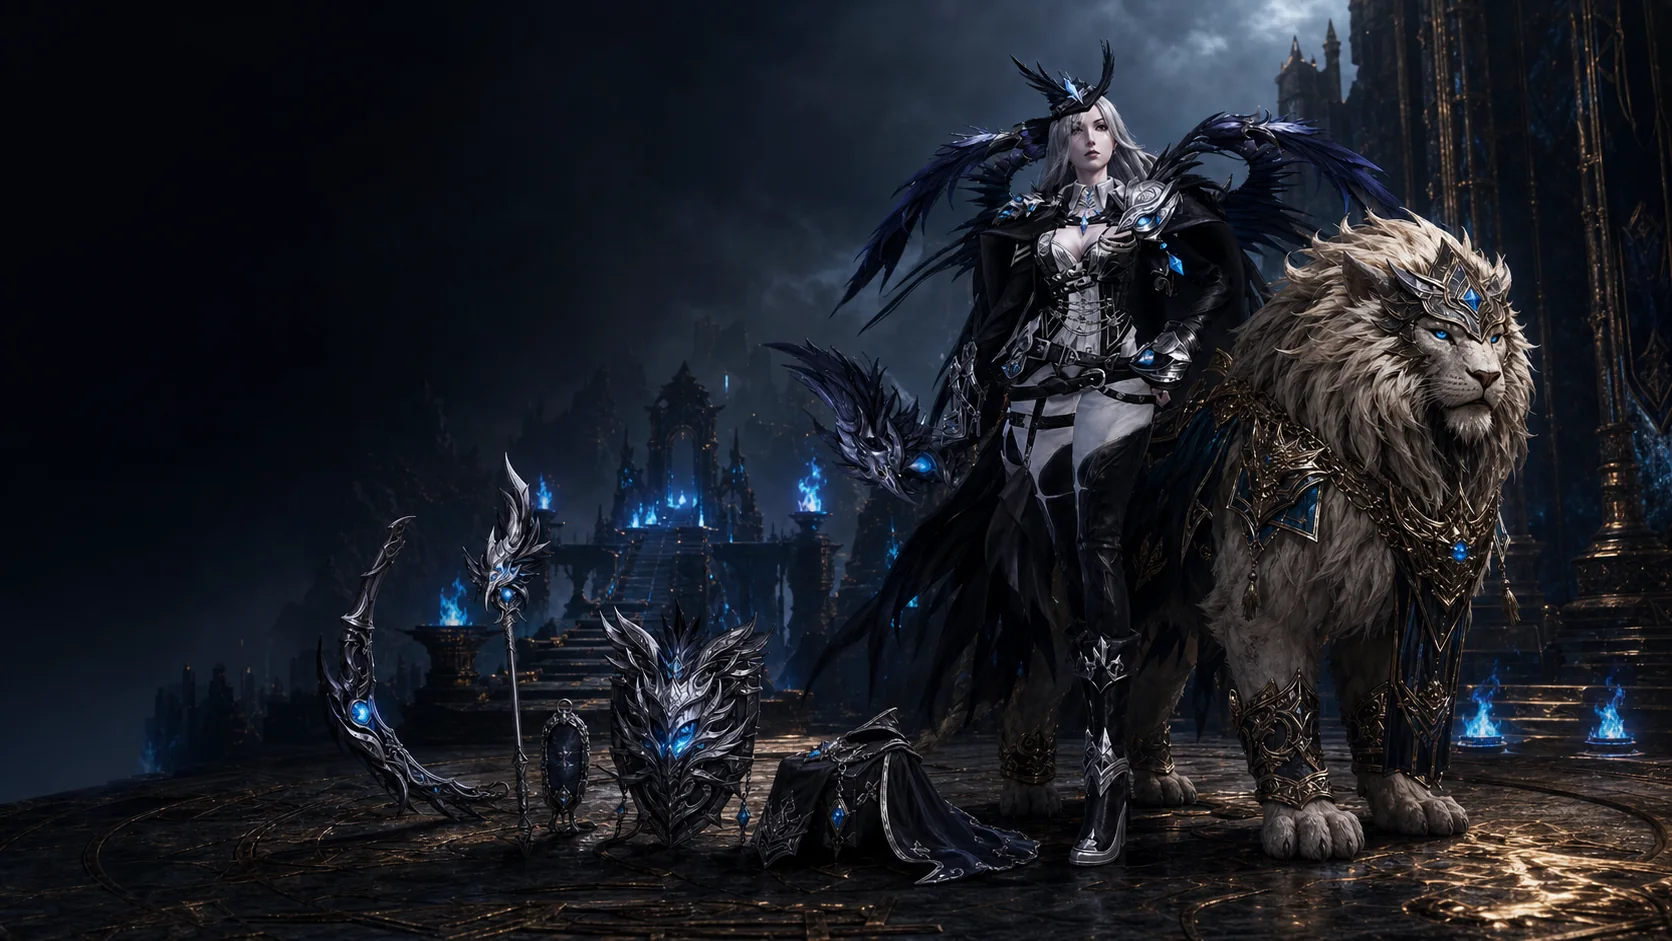
A permanent Royal Lion mount seal — yours for good, it never expires — so you are mobile from the very first second.
Drops here are not just a bigger number in your inventory. Every tier, bonus and stat from the chain strengthens your set for the next fight — and helps you defend the next load of chests.
We replaced positive and negative alignment with the D, C, B, A, S ladder. Each step adds a combat bonus on top of the lower grades while you hold that rank. Only Fruit of Life raises it, it never falls below zero, and fighting never locks you out of the shop.
+10% vs Semi-humans
+10% Cast speed
+10% Piercing hit chance
+10% Critical hit chance
+3,500 HP
Every step keeps the bonuses beneath it. At S rank you carry all five at once.
The six level 105 weapons, the four classes' body armours and helmets, the shield, boots and earrings climb from Normal to Epic and from Epic to Legendary. Refine them to +9, then evolve them with Royal Seals. You can win seals on floor 9 of the Tower of Greed.
Level 105 equipment, refined to +9. Rarity evolution starts here.
Epic +0 keeps the native stats of Normal +9. Refining to +9 costs twice the materials and Yang of Normal.
At +9, Legendary weapons have +25 against Half-Humans and +60 against monsters. Refining costs three times the materials and nine times the Yang of Normal.
Rarity evolution is guaranteed. Added bonuses and socketed stones carry over, and the native stats at +9 become the next tier's +0 starting point.

The six endgame weapons
2 to Epic · 4 to Legendary

The four classes' body armours
2 to Epic · 4 to Legendary

Helmet, shield, boots and earrings
1 to Epic · 2 to Legendary
Each equipment piece evolves separately with the right seal and Yang. Race jewellery uses the Divine Fragment, while Tourmaline versions come from fusing all four race variants.
Level 105 jewellery starts with the race variants from the Normal Jewellery Chest. Epic and Legendary chests give refining stones. Use these materials to craft Divine Fragments at the Collector and evolve race pieces to Epic and Legendary. For Tourmaline, collect all four variants from the same family and rarity, refine them to +9, then fuse them.
Metins and bosses can drop Normal, Epic and Legendary Jewellery Chests from Cape onward. Later maps improve the drop chance; Legendary chests can drop before Thunder.
A Normal chest gives a race bracelet, necklace or belt at +0. An Epic chest gives 10 stones of one kind, and a Legendary chest gives 30: Ruby, Garnet, Emerald, Sapphire or Red Flame Stone. These chests do not drop Tourmaline.
One Divine Fragment costs 90 each of Ruby, Garnet, Emerald, Sapphire, Red Flame Stone and Tourmaline, plus 24,000,000 Yang. Evolving Normal +9 to Epic +0 takes one fragment and 2,400,000 Yang; Epic +9 to Legendary +0 takes two fragments and 7,200,000 Yang. Both evolutions are guaranteed and preserve bonuses.
The Collector guarantees fusion of the four +9 race variants from the same family and rarity. The result is Tourmaline +0 of that tier, without the added bonuses or stones of the consumed pieces. Tourmaline then evolves with Divine Fragments too: Normal +9 to Epic +0 for 3 fragments and 10,000,000 Yang, Epic +9 to Legendary +0 for 4 fragments and 15,000,000 Yang, keeping its bonuses.
 +9
Ruby
Warrior
+9
Ruby
Warrior
 +9
Garnet
Ninja
+9
Garnet
Ninja
 +9
Emerald
Sura
+9
Emerald
Sura
 +9
Sapphire
Shaman
+9
Sapphire
Shaman
 +0
Tourmaline Bracelet
all races
+0
Tourmaline Bracelet
all races
Green border. The entry rung. Four Normal jewellery pieces at +9 yield the Normal general variant.
Blue border. Evolve each Normal +9 race piece with one Divine Fragment. Epic +0 keeps the native stats of Normal +9, and refining to +9 takes twice the materials. A Normal Tourmaline +9 evolves straight to Epic for 3 Divine Fragments and 10,000,000 Yang.
Red border. Evolve each Epic +9 race piece with two Divine Fragments. Legendary +0 keeps the native stats of Epic +9, and refining to +9 takes three times the materials. An Epic Tourmaline +9 evolves straight to Legendary for 4 Divine Fragments and 15,000,000 Yang.
 +9
Ruby
Warrior
+9
Ruby
Warrior
 +9
Garnet
Ninja
+9
Garnet
Ninja
 +9
Emerald
Sura
+9
Emerald
Sura
 +9
Sapphire
Shaman
+9
Sapphire
Shaman
 +0
Tourmaline Necklace
all races
+0
Tourmaline Necklace
all races
Green border. The entry rung. Four Normal jewellery pieces at +9 yield the Normal general variant.
Blue border. Evolve each Normal +9 race piece with one Divine Fragment. Epic +0 keeps the native stats of Normal +9, and refining to +9 takes twice the materials. A Normal Tourmaline +9 evolves straight to Epic for 3 Divine Fragments and 10,000,000 Yang.
Red border. Evolve each Epic +9 race piece with two Divine Fragments. Legendary +0 keeps the native stats of Epic +9, and refining to +9 takes three times the materials. An Epic Tourmaline +9 evolves straight to Legendary for 4 Divine Fragments and 15,000,000 Yang.
 +9
King
Warrior
+9
King
Warrior
 +9
Spirit
Ninja
+9
Spirit
Ninja
 +9
Runes
Sura
+9
Runes
Sura
 +9
Great Bear
Shaman
+9
Great Bear
Shaman
 +0
Tourmaline Belt
all races
+0
Tourmaline Belt
all races
Green border. The entry rung. Four Normal jewellery pieces at +9 yield the Normal general variant.
Blue border. Evolve each Normal +9 race piece with one Divine Fragment. Epic +0 keeps the native stats of Normal +9, and refining to +9 takes twice the materials. A Normal Tourmaline +9 evolves straight to Epic for 3 Divine Fragments and 10,000,000 Yang.
Red border. Evolve each Epic +9 race piece with two Divine Fragments. Legendary +0 keeps the native stats of Epic +9, and refining to +9 takes three times the materials. An Epic Tourmaline +9 evolves straight to Legendary for 4 Divine Fragments and 15,000,000 Yang.
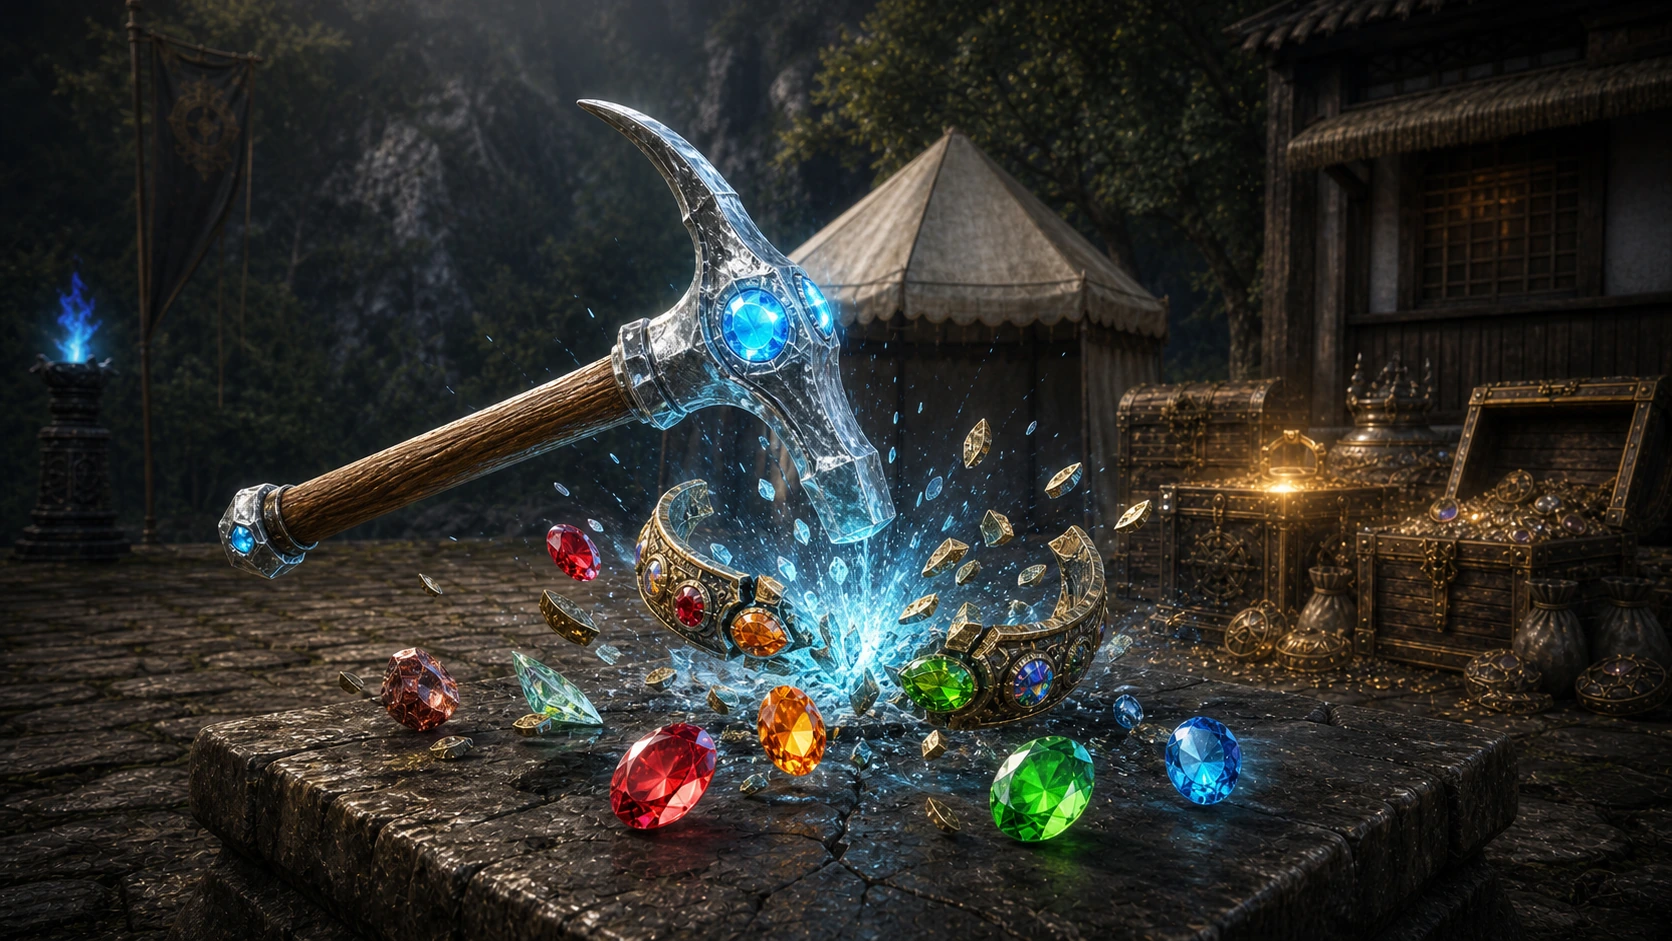
Open the Frosted Hammer workshop from your inventory, add the spare +0 pieces and press Break All. You can select multiple items, and the window shows the materials you will receive. Only eligible pieces requiring level 100 or higher are accepted.
Race bracelets and necklaces break into their matching stone: Ruby, Garnet, Emerald or Sapphire. Race belts give Red Flame Stone. Use the materials for refining and the Collector's material recipes, including Divine Fragments.
An eligible +0 weapon or armour piece requiring level 100 or higher gives 10 Energy Fragments. At the Alchemist, 500 fragments and 1,000 Yang become an Energy Crystal with an Energy value of 10, active for ten minutes. Fragments also fuel level 105 equipment refinement.
Open the workshop from your inventory without carrying a hammer or visiting an NPC to break items. Tourmaline pieces and equipment above +0 are rejected. Energy Fragment extraction requires character level 35 or higher.
Body costumes, hairstyles and weapon skins are permanent: no timer runs on them, so they never expire. Rarity decides how many bonuses they can hold. The starter Doctor Death set is the only exception: it disappears after 5 days and cannot evolve.
A costume never expires, whether you wear it, store it, sell it from an offline shop or put it up for auction. Its look, bonuses and rarity stay with it.
Add normal bonuses one at a time up to the rarity limit: 3 on Normal, 4 on Epic, 5 on Legendary.
Drag the Blessing Scroll onto the costume. Normal → Epic costs 1 Quality Certificate; Epic → Legendary costs 2. Success is 100%, with no Yang cost, and you keep the scroll. Existing bonuses stay intact; the new bonus slot opens empty.
 Body
Body
 Hair
Hair
 Weapon
We cut dead grind and the chores that pull you out of the game. What remains drives you back toward farming, hunting loaded carriers and PvP.
Gathered loot turns its carrier into a target
Less leveling, more fighting
See your target's health and keep your fight mode
Tools keep you close to the fight
Enter the farm and defend your chests until you open them. If you die, someone else can leave with them.
War announcements, patch notes, and the people you are going to beat — join the Discord